Software setup
Table of contents
- Install Java
- Install IntelliJ
- Install Git
- Restart computer
- GitHub
- SSH setup
- Fork exercise repository
- Clone repository from IntelliJ
- IntelliJ setup
- Final tidbits
Please follow all instructions in this guide carefully, step-by-step. If something doesn’t work as expected at a particular step, do not skip the step. Try to search for a solution to your problem yourself, and if that doesn’t work, let me know what the problem is on Piazza.
Install Java
Here’s how to install Java 21, the latest long-term support release.
Windows
Go to Oracle’s website, and download the x64 MSI Installer. Run the installer.
After installation, verify that Java was installed correctly by opening your terminal and running java --version.
$ java --version
java version "21.0.3" 2024-04-16 LTS
Java(TM) SE Runtime Environment (build 21.0.3+7-LTS-152)
Java HotSpot(TM) 64-Bit Server VM (build 21.0.3+7-LTS-152, mixed mode, sharing)
It’s fine if you see a different version number, which might occur if you had previously installed another version of Java. We’ll later set our IDE to use Java 21.
macOS
We’ll install Java using SDKMAN, an SDK (software development kit) manager. To install SDKMAN, follow the brief instructions here.
Then, open your terminal and run sdk list java to list the available Java versions for your computer. Use the j and k keys to scroll down and up, respectively. Scroll down until you see Oracle, and the identifier for Oracle Java 21 will be something like 21.0.3-oracle. Run sdk install java 21.0.3-oracle (or whatever the identifier is) to install Java 21. When prompted to set this version as the default version, type Y.
After installation, verify that Java was installed correctly by opening your terminal and running java --version. Since we just set this as the default version, you should see 21.x.x, like so:
$ java --version
java version "21.0.3" 2024-04-16 LTS
Java(TM) SE Runtime Environment (build 21.0.3+7-LTS-152)
Java HotSpot(TM) 64-Bit Server VM (build 21.0.3+7-LTS-152, mixed mode, sharing)
Linux
If you happen to be running Linux, yay! You should install Java by following the macOS instructions above. However, I won’t provide dedicated instructions for Linux for future items because as a Linux user, you should be able to figure it out.
Install IntelliJ
For our IDE (integrated development environment), we’ll use IntelliJ.
Download an installer from JetBrains’ website. Make sure that the correct OS (Windows, macOS, or Linux) is selected. Then scroll down and download the Community Edition (not Ultimate 1). If you are using macOS, also make sure you download the correct version of the installer (Intel or Apple Silicon).
Install Git
For our VCS (version control system), we’ll use Git, which you’ve probably already installed.
Check your Git version by opening your terminal and running git --version. The version should be at least 2.14.1.
If you don’t have Git installed or the version is not at least 2.14.1, go to Git’s website to install/update Git. Click macOS, Windows, or Linux/Unix, and choose an installation method.
For macOS, I recommend using Homebrew. For Windows, I recommend using winget. Both are powerful package managers that will simplify your life. Alternatively, for macOS, you may use the binary installer, and for Windows, you may use the standalone installer.
Restart computer
Just in case, restart your computer to ensure that all changes take effect.
GitHub
You should already have a GitHub account. If not, create a GitHub account. Make sure you are logged in on GitHub.
SSH setup
To clone repositories from GitHub, instead of using HTTPS, which you may have used before, we’ll use SSH. SSH is more secure and often more convenient. If you already have an SSH key pair on your computer and the public key on GitHub, skip this step.
We’ll first generate an SSH key pair. Open your terminal and run ssh-keygen. Then press enter to accept the default file location. When prompted for a passphrase, press enter twice for no passphrase.
$ ssh-keygen
Generating public/private rsa key pair.
Enter file in which to save the key (/root/.ssh/id_rsa):
Enter passphrase (empty for no passphrase):
Enter same passphrase again:
Your identification has been saved in /root/.ssh/id_rsa
Your public key has been saved in /root/.ssh/id_rsa.pub
The key fingerprint is:
SHA256:dAOqHgLBW2JPgClEjWBK6gGWBw6vmpfbfRHpbNL4fuk root@894bd69e35bb
The key's randomart image is:
+---[RSA 3072]----+
|@X*     .        |
|&O =   . .       |
|*oO   . ..o      |
|.+.. . .o. .     |
|... o  =S.       |
|.. + .o *        |
|o o .  + . .     |
| . o .  o o      |
|  . . .o.oE      |
+----[SHA256]-----+
The file location will look slightly different depending on your OS (e.g., Windows uses \ instead of /), but the rest will be the same.
Copy the file path for the public key. Above, it’s /root/.ssh/id_rsa.pub. Then run cat <file_path> to print the public key. For example,
$ cat /root/.ssh/id_rsa.pub
ssh-rsa AAAAB3NzaC1yc2EAAAADAQABAAABgQCQn8xwmKov0qOnqzrvkk4Bms/0gv1zJmL7n0geEwwD2x1H/1JhN7lnnGVUzfmfWnqbWGqX3NsMaj/QBu2rgUYpM/RMQ5kmopyRIclcIY/LOioqdnLIgIZ4v+15XoIGJa05mXlNJc8PWSnpdX2erkQjmQHU6U4w7YEBTlvc3TLRqnOPJCr31VFwk3kK7bPEwC8Imm/zl3AIWTE5B8mfIHS/3c+wLFqUgH0x6df3iMS/L9VddP7xoDq3kDLMfPWBncIgER3Qnx+WHRjwiU1EePYXrpOgXhyZ3qiKuTp6jybmsx18t7CwH2WijAPZSd+K97y5iLy17c6OUMyAu5clAWUg8u3MEOZGdl2pvy/lKWSnscPoUYeTpFZOxVkx5wreNwkzXQlDpQylfJ6jv15qDuDSrfoz7I1FJa6aPL2IY/w/KxkMW2Y7r6xCPXrnN3wPwwdi8QaiPeqzHidf9ptC6equQdpxPCYlqhluy0YNyEXOgKTV8HzssQ3cCa5/vbgsHZ0= root@894bd69e35bb
Copy the entire output, starting with ssh-rsa.
Finally, go to your SSH and GPG keys on GitHub by clicking here. Click the green “New SSH key” button at the top right. Give it any title you want. Finally, paste the public key that we copied earlier, and click the green “Add SSH key” button.
Explanation of SSH
This is unnecessary to proceed, but if you want to understand what you just did above, read on.
The point of SSH is authentication. Other people should not be able to access our private GitHub repositories. When we clone via HTTPS, we can provide our GitHub username and password to authenticate ourselves, but this is insecure and deprecated (nowadays, GitHub requires a personal access token). Instead, when we clone via SSH, we use our SSH key pair for authentication.
To explain what we just did, we generated an SSH key pair, which consists of a public key and a private key (that you should never share). The keys correspond to each other. Think of the public key as being a lock and the private key as being the key for the lock. We just added the public key to GitHub, meaning that we just put a lock on all of our private GitHub repositories. The key is our SSH private key on our computer. So when we clone a private repo via SSH, GitHub checks if the lock (actually, the public key) on GitHub matches the key (actually, the private key) on our computer. If they match, we’re authenticated and can clone the repo. No one else should have the private key that matches the public key on our GitHub account, so no one else can be authenticated.
Fork exercise repository
Go to the schedule and click the link to the EX00 assignment. You’ll be prompted to accept the assignment. This will create a private repository on GitHub for you to work on the assignment.
Click the link to your forked repository. It should look like https://github.com/comp210ss2/ex00-jesse-wei.
Click the green “Code” button at the top right. Click SSH, and copy the URL, which should end with .git. It should look like git@github.com:comp210ss2/ex00-jesse-wei.git.
Clone repository from IntelliJ
Open IntelliJ. Click File > New > Project from Version Control. By default, “Repository URL” should be selected, and the version control system should be Git.
In the URL field, paste the URL that we copied in the previous step. The default directory is fine, but you may change it if you wish. Finally, click “Clone”. If you’re prompted to trust the project, do so. You should now see some files in IntelliJ.
If this step does not work due to some sort of authentication error, this is because you did not set up SSH correctly. If so, redo SSH setup.
IntelliJ setup
Select Java SDK
Click File > Project Structure. Click the SDK dropdown. Select Java 21, which we downloaded earlier. If you don’t see it there, click the dropdown and select “Add JDK” (if another dropdown appears, then select JDK again). Windows users, select C:\Program Files\Java\jdk-21. macOS users, select /Users/<your username>/.sdkman/candidates/java/21.0.3-oracle. In the Finder window, .sdkman may not be shown because the prefix . means it is a hidden file. So, while Finder is open, press Shift + Command + Period (.) to show hidden files.
If you can’t find Java on your computer, then you can simply use the “Download JDK” option. Select Java 21 from any vendor.
Next, set the language level to SDK default. Also, go to Modules on the left sidebar and set the language level to Project default. Finally, click Apply and OK.
Mark as sources root
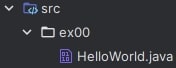
Finally, inspect the file tree on the left. Open the src directory and the ex00 directory. If you see HelloWorld.java (with the .java extension), then right-click the src directory and click Mark Directory as > Sources Root.
If the file is simply HelloWorld without the .java extension and the file icon is a blue cube, then src is already recognized as a sources root, so you don’t have to do anything.
Wrong

Correct
After clicking this setting, you should see that there’s a new .iml file in the directory that specifies that src is a sourceFolder.
Final tidbits
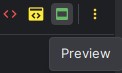
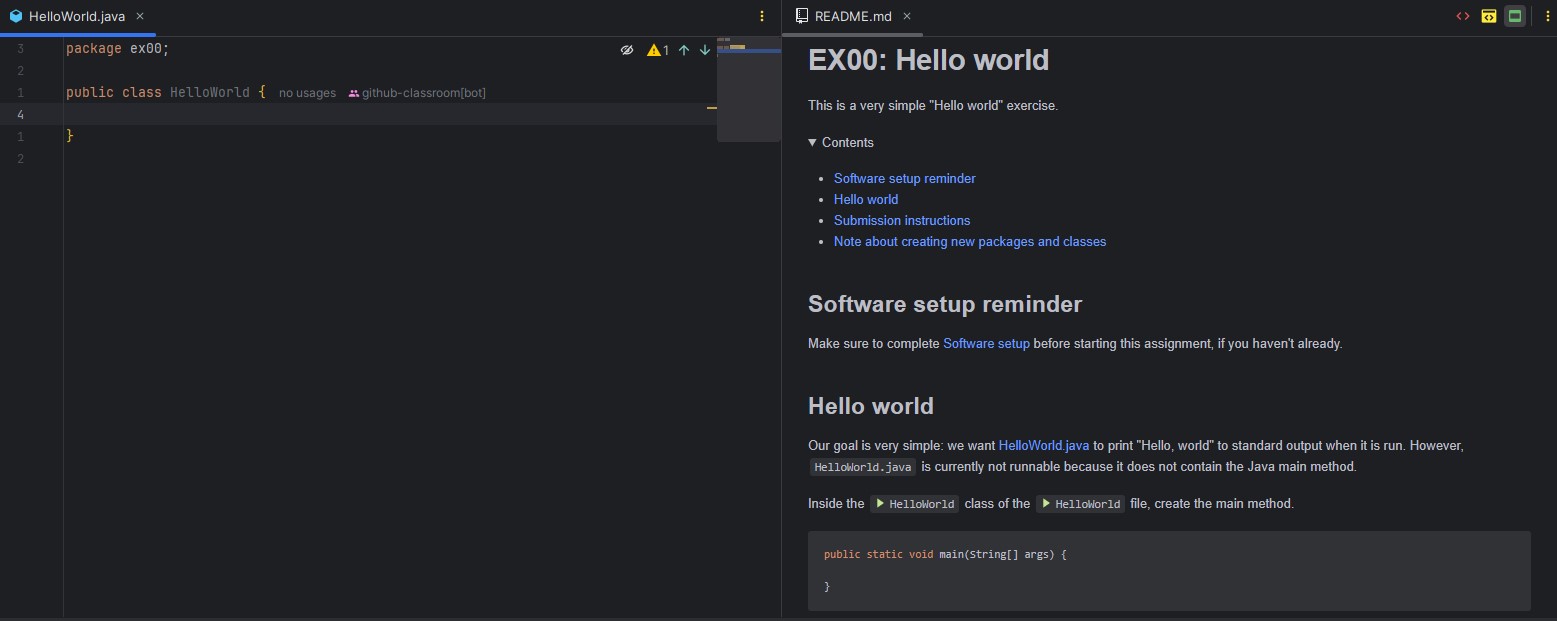
As you’ve probably seen, the instructions for EX00 (and future exercises) are in the README.md file in the repository. You may view the contents of README.md in GitHub or in IntelliJ. If viewing in IntelliJ, make sure to click the green “Preview” button at the top right to render the Markdown, and you can also drag the tab to the right to have two separate panes for viewing the instructions and your code.
For future exercises, you will need to fork and clone the assignment repository by following Fork exercise repository and Clone repository from IntelliJ. You might need to do the steps in IntelliJ setup again if you encounter any issues.
Happy coding!